#NOTD - Sally Hansen
/
Let's talk nails real quick. I'm not much of a beauty blogger, but I do like letting you all know the latest things that tickle my fancy...
For a minute, I'd gotten back into the acrylic nails, but to be honest, I'm not as "high maintenance" as some may think. I don't like going to the nail shop, for me, it's an interruption to my day. Even if it is only every 2-3 weeks or so. This is also coming from the person who hates stopping for gas (It's an interruption!) I digress... So, because I've never been able to get regular nail polish to last on my real nails longer than a couple days, I invested in an at-home gel polish system from Ulta. You've all heard of it. It's the Red Carpet Manicure line. I have to say, it was a game changer for me. I liked that the polishes were affordable and being able to do it at home, it was super convenient. There were some downsides, however. The at-home polish only lasted for me 4-5 days, and that was only if I took time to really prep my nails. BUT, 4-5 days is good right? Well, it's not when the polish peels off of different nails sporadically--which would force me to have pull out all the stuff to redo individual nails here and there. Too much trouble. Then, some nails I could just peel the polish off, but others I'd have to soak off. Have I mentioned, I hate the soak off aspect of gel nails?!
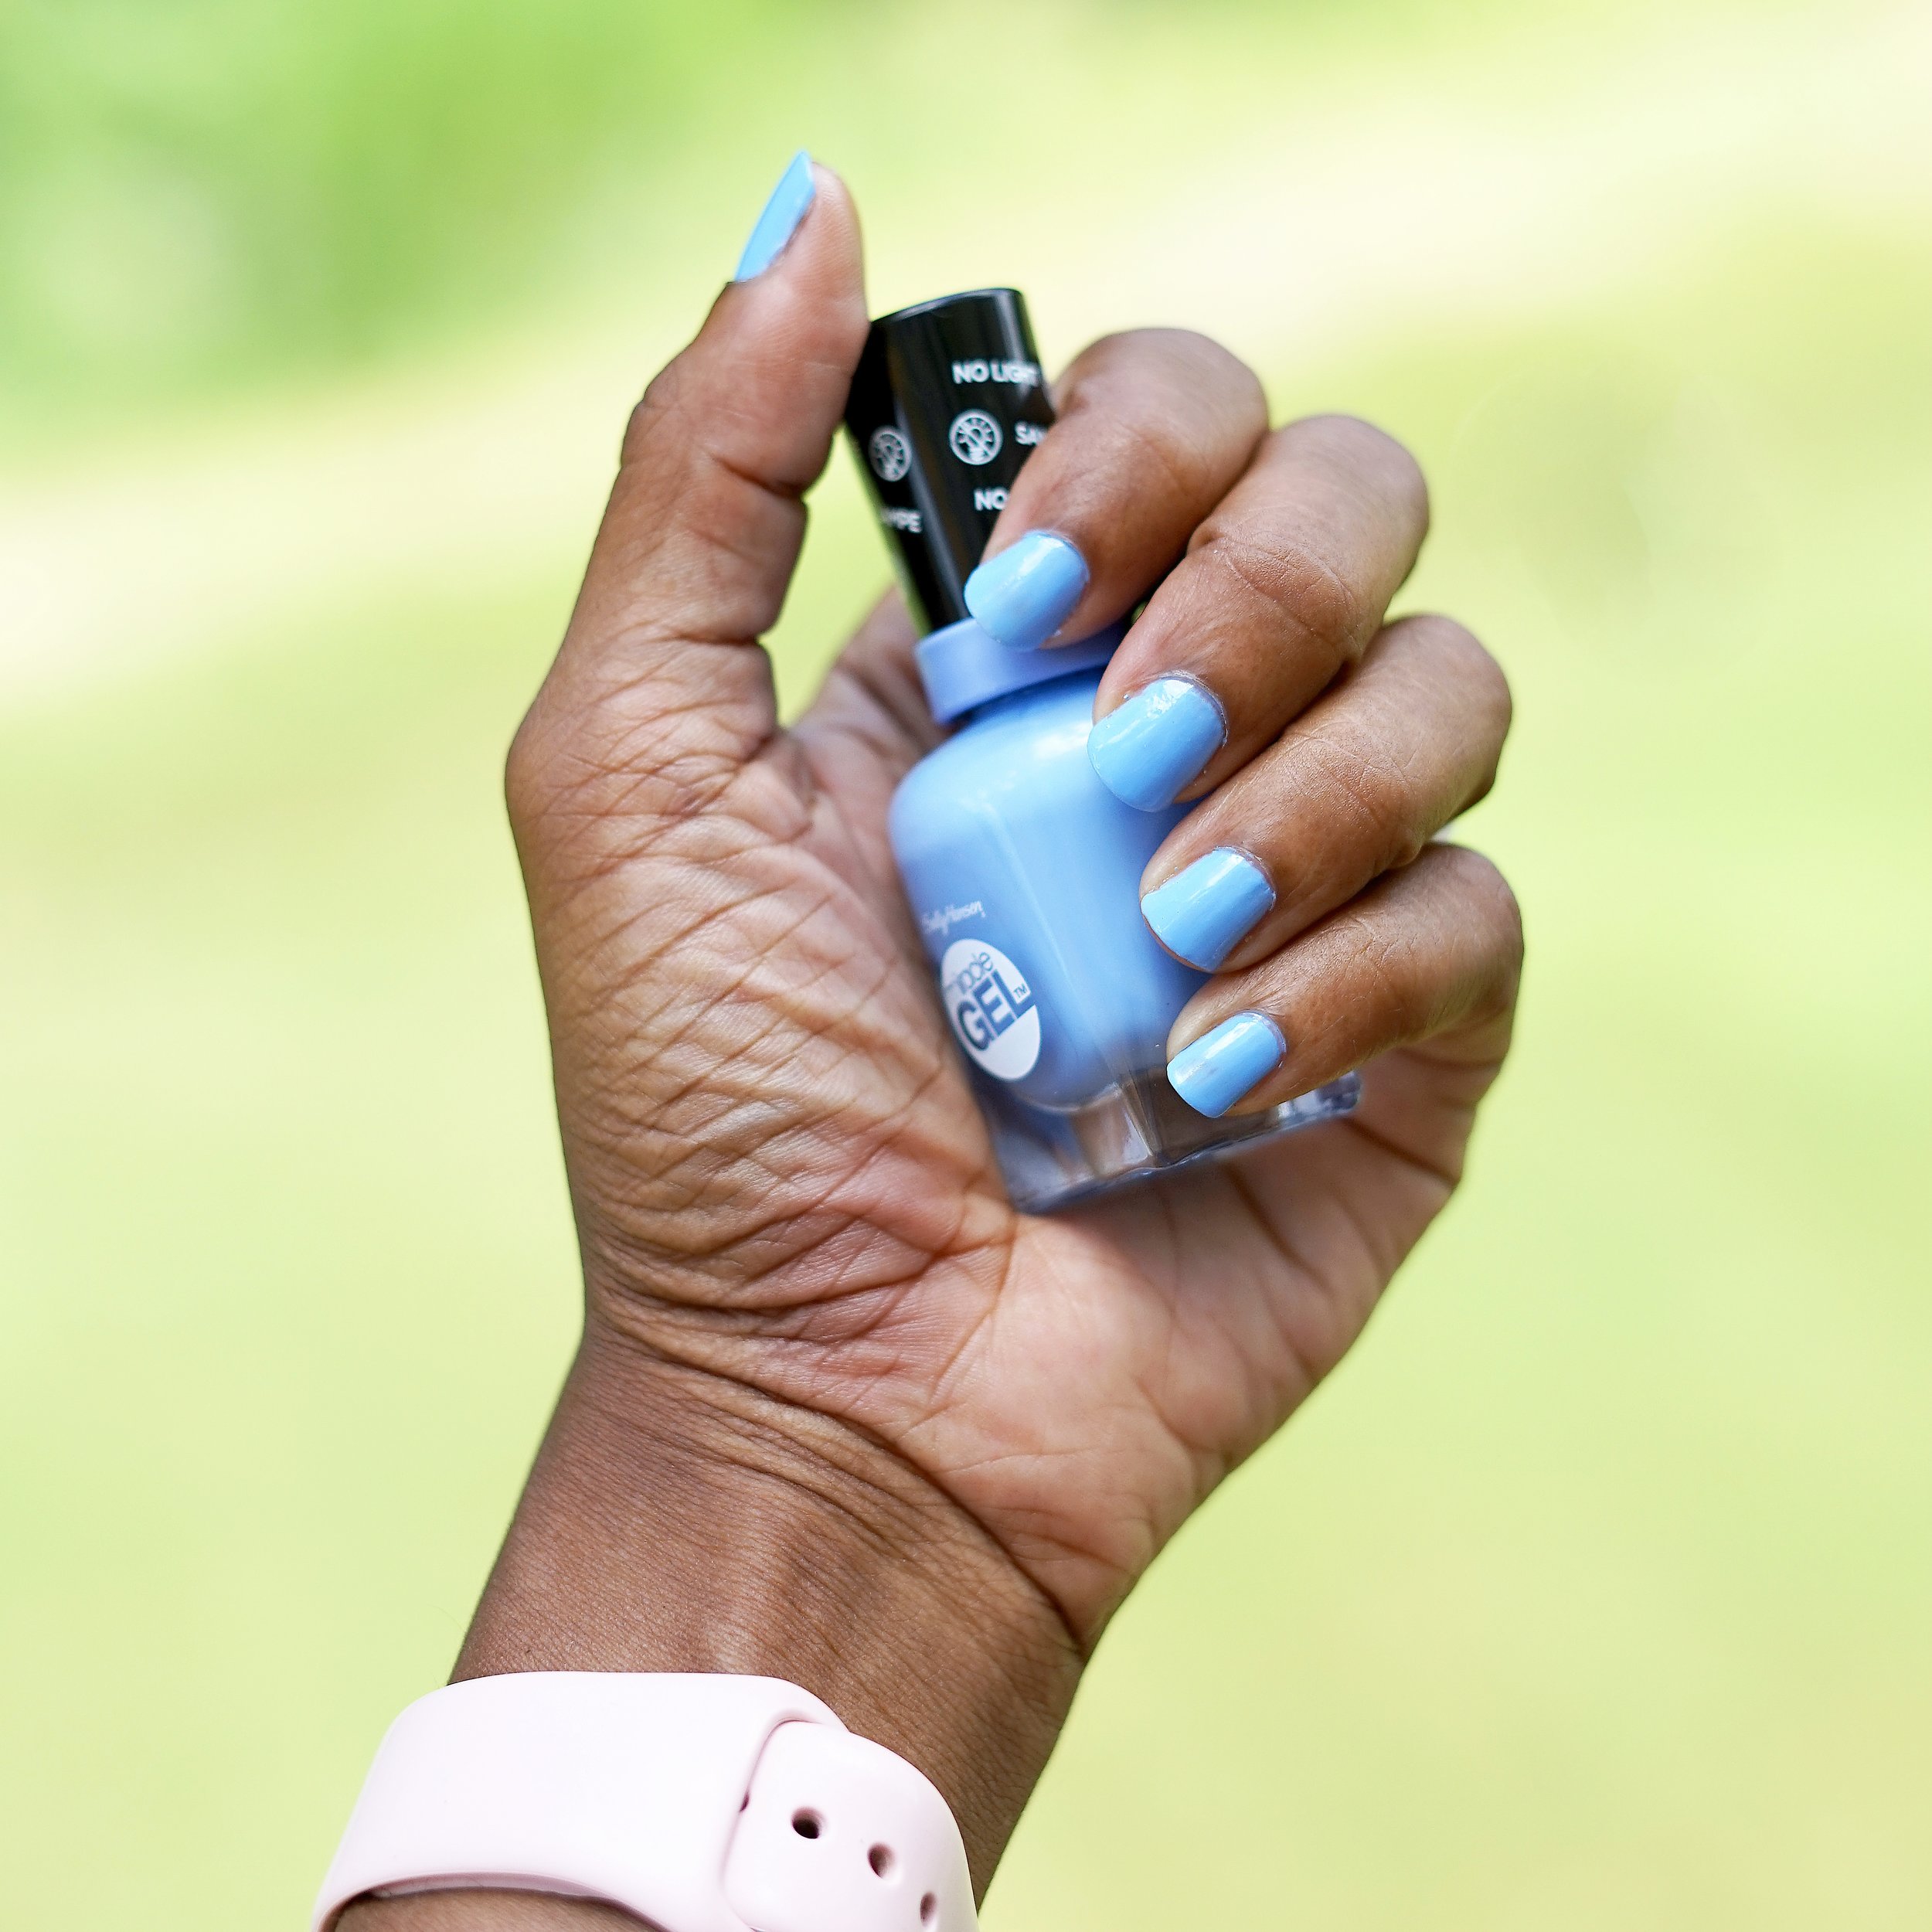
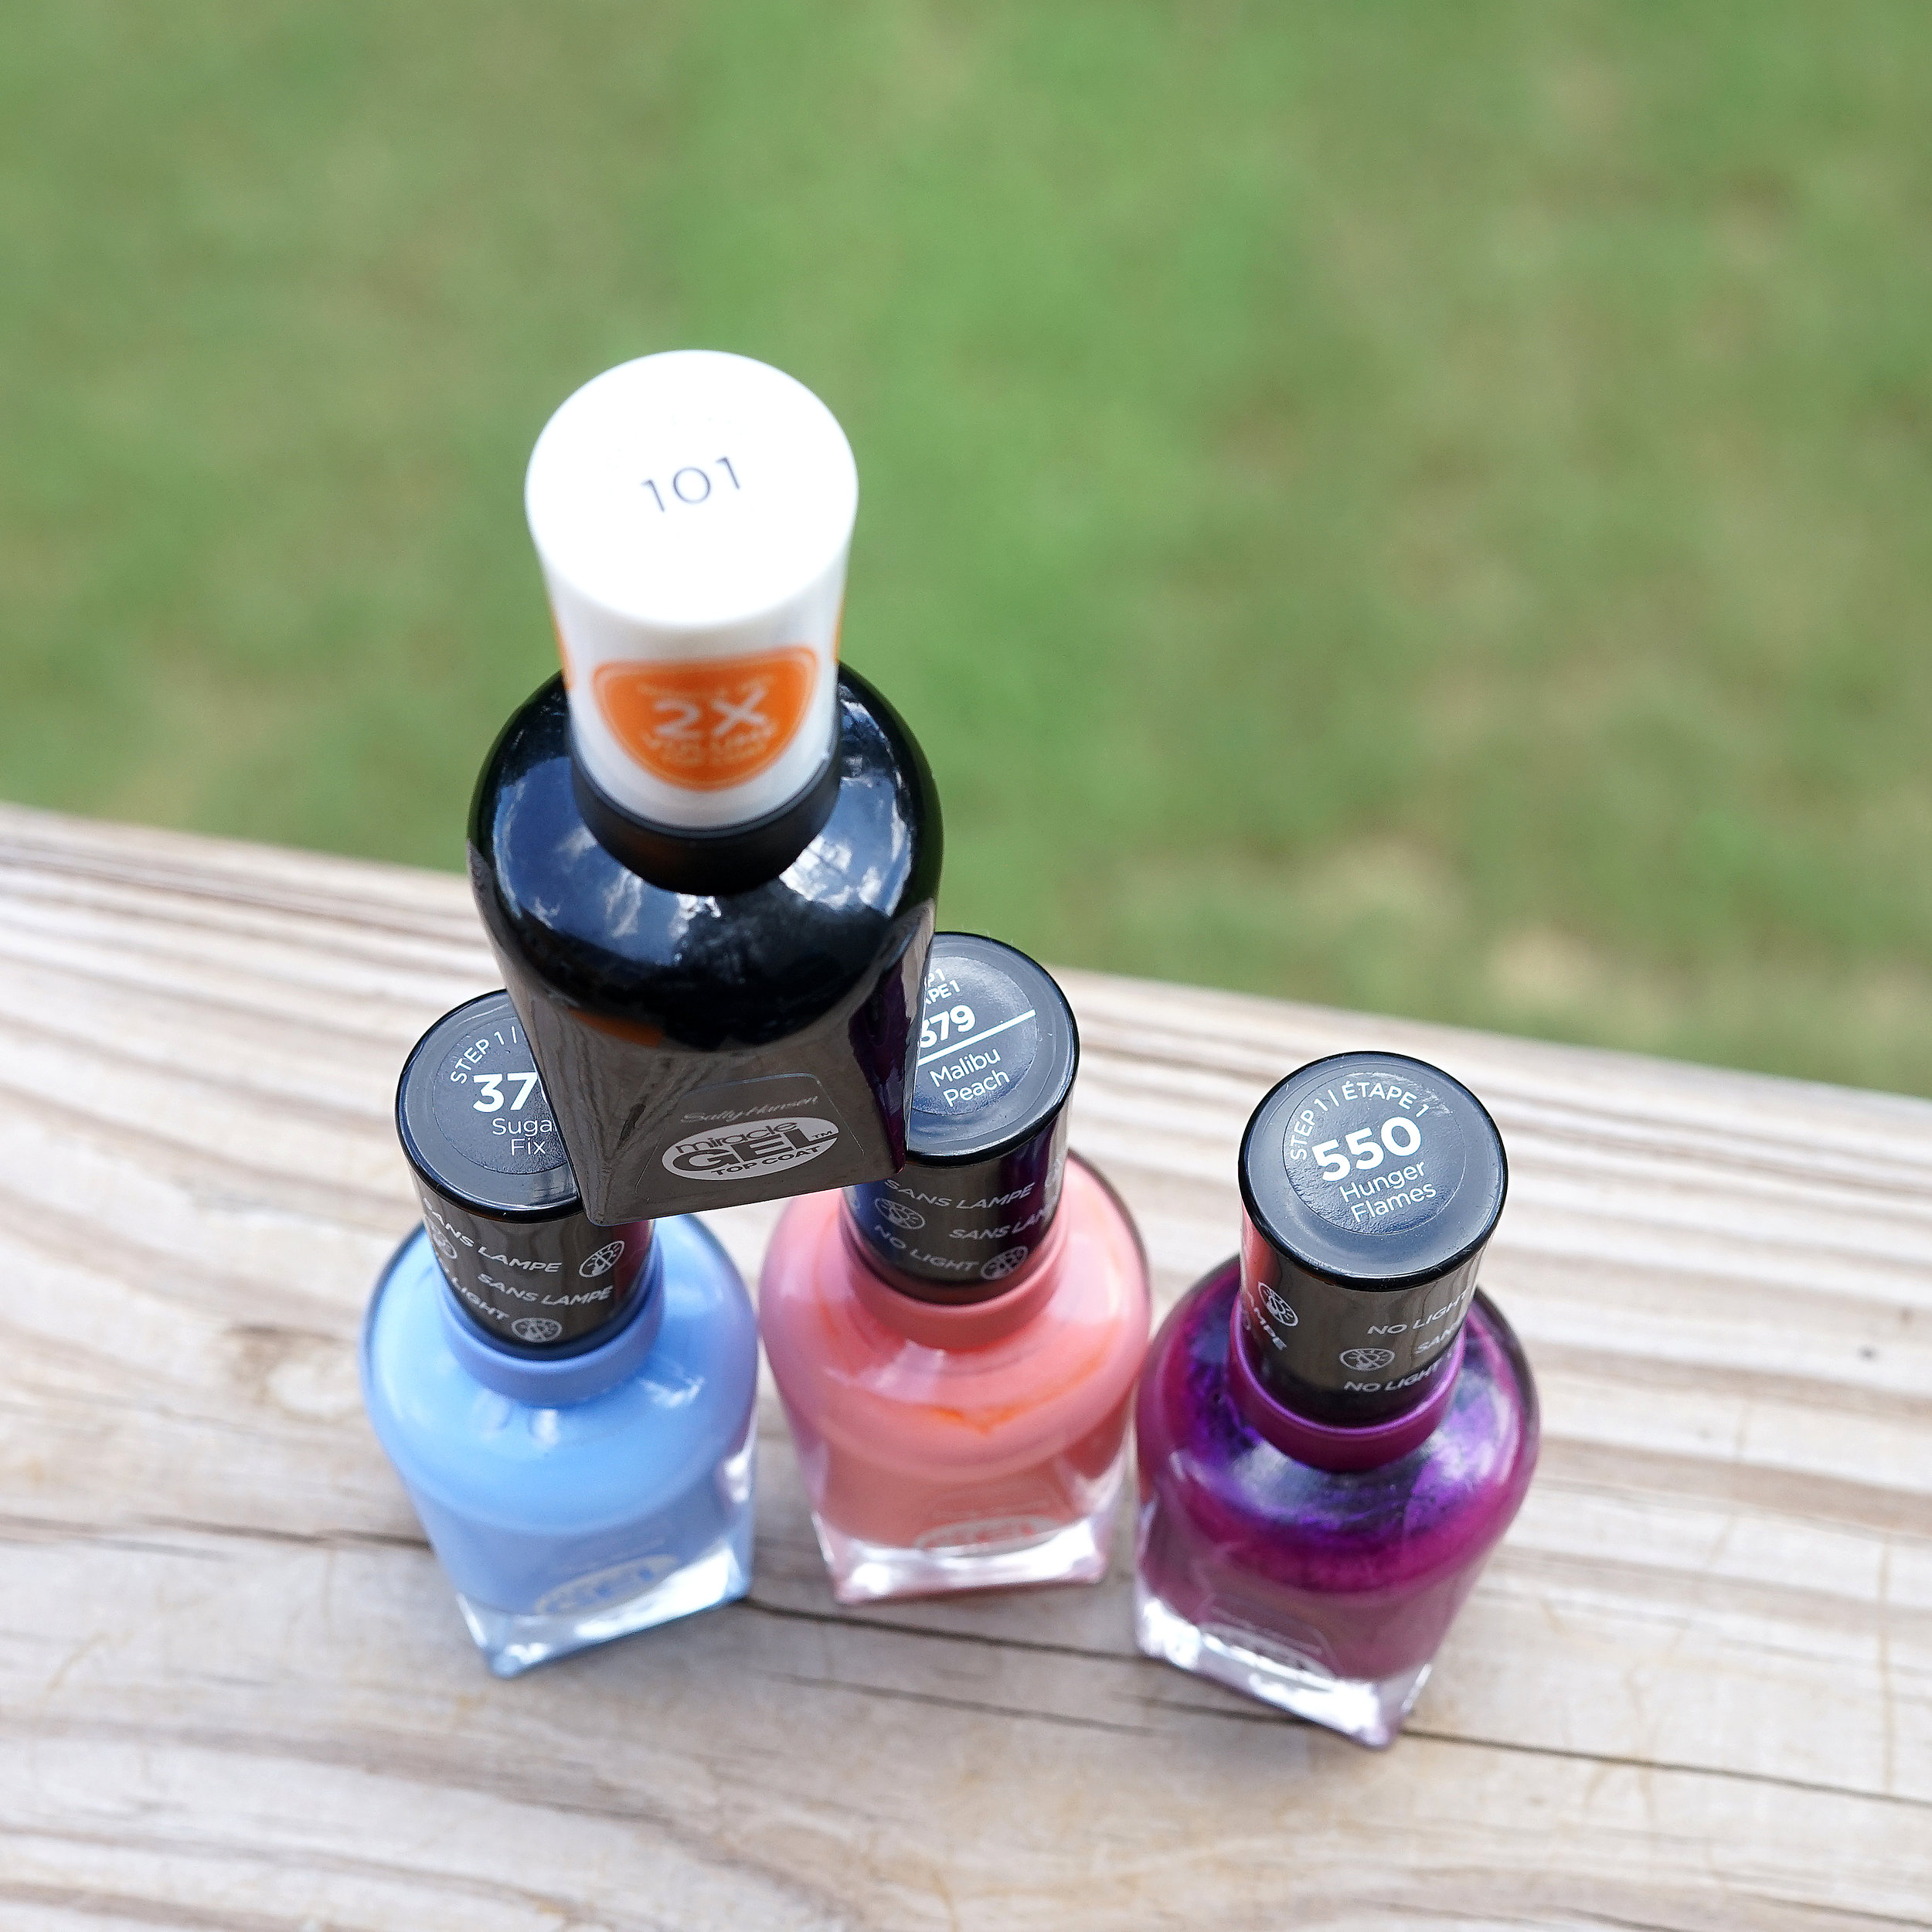
So this post is me revealing my happy medium! I've recently started using Sally Hansen's Miracle Gel nail polish line. It's supposedly a gel polish where no UV/LED light is required, and it's supposed to last like a regular gel would. Well, verdict is in, and I say that it's pretty darn close!! And no soaking it to get it off! Any regular ol' polish remover works! The only downside, is there is some drying time, unlike the real gel polishes--but it does dry a lot quicker than regular nail polish, in my opinion.
So here is what I do to prep my nails, for any gel polish.
- Wash my hands! This should be a no brainer, but it's best your nails are as clean as a whistle and oil & dirt free.
- Slightly, and I do mean slightly file the surface of your nail to just enough to remove it's natural shine.
- Wipe each nail down with a little bit of regular nail polish remover (the kind with acetone). This works as a primer.
- Begin your polish application!
Now, most (if not all) of these tips, you may already know. Just thought I'd share with you all exactly how I get the Sally Hansen Miracle Gel polish to last!